
How to set up your Tonie Box
Share
The one-time set up of your Toniebox is the first step towards many, many hours of fun! There are two ways to set up your Toniebox, using the mytonies app or my.tonies.com/setup. To complete set up, you will need a 2.4GHz WiFi connection, your Toniebox, and the Toniebox Charging Station. Let's get started!
Navigate to my.tonies.com/setup on your device. If you have not logged in or created a free Tonie-Account yet, you will be greeted by the page shown below. Click on 'I want to begin'.
Here you can sign up for your free Tonie-Account by entering in your information and clicking 'Sign Up Now'. If you have already created a Tonie-Account, click on 'Log In Now' and login using your credentials.
Make sure you have access to a 2.4GHz WiFi connection, your Toniebox, and the Toniebox Charging Station. Also, make sure your computer is connected via WiFi and not plugged in directly through an ethernet cable. Once you are ready, click on 'I want to begin!'.
Enter your Toniebox ID. This is the 8 digit ID that can be found on the bottom of your Toniebox. Make sure the Toniebox is not on the charger during this step or you will not be able to see the Toniebox ID. Once you have entered your Toniebox ID, click on 'Great, go ahead'.
Here you can name your Toniebox. Once you have entered a name, click on 'Onwards!'
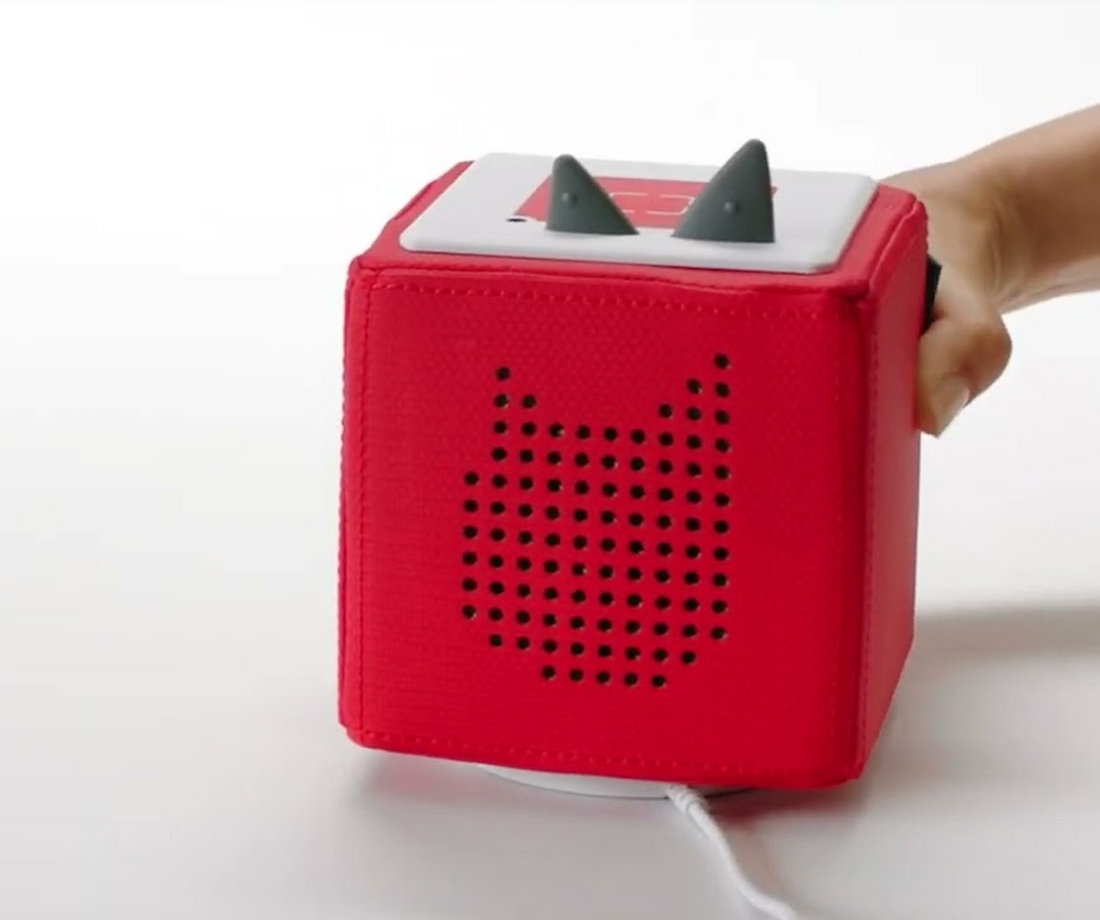
If you have not already, place the Toniebox on the charger to turn it on. Then pinch both ears for about 5 seconds until you hear an audio chime and the LED begins to flash blue. Wait for about 20 seconds until you hear a second audio chime. Then click on 'Then get started!'.
Now you will need to connect to your Toniebox. This is done by using a specific Toniebox WiFi network. Please note that this is different than your regular home WiFi network that we will connect to in a future step.
To connect to the Toniebox WiFi network, bring up the Network list on your device. In most cases, you can do this by clicking on the WiFi icon on the bottom-right of your screen.
Find the "Toniebox-####" network in the list of WiFi connections. The last 4 numbers of the connection name will be different for every Toniebox. Click on the Toniebox network name and then click 'Connect'.
Once the connection with your Toniebox is established, open the webpage again and a new button will appear. Click 'Continue' to move forward.
Now, you will connect to your home 2.4GHz WiFi network. If your WiFi network is not already selected, you can click the dropdown arrow to view all nearby available WiFi connections. Click the name of your WiFi network and then enter your WiFi password. Tip: Click 'Show password' to see your password and ensure that all capitalization and spelling is correct.
Once you have entered the correct password, click 'Connect Toniebox'.
Please wait while the Toniebox establishes a connection with your WiFi.
Continue to wait while your Toniebox continues through the connection process. This may take a minute or two. You may hear several audio chimes and the LED on the Toniebox will alternate between flashing blue and flashing green
Once your Toniebox is finished connecting to your WiFi and downloading any necessary updates, you will hear a welcome message and see 'Congratulations' on your screen. The Toniebox LED should also now be solid green.
Now your Toniebox is all setup and ready for Tonies! Place a Tonie on the Toniebox and it will begin downloading its content and the LED will begin blinking blue. Once your Tonie is finished downloading all of its content, the LED on the Toniebox will change to solid green and an audio chime will play. Now that Tonie can play even without a WiFi connection.
Start building your Tonie characters collection now - shop Tonies